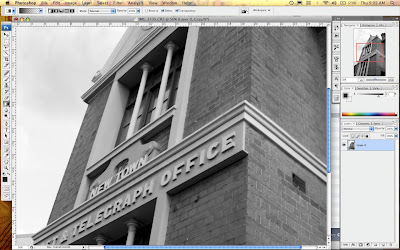


In the darkroom photographers use test strips to gain fine control over the brightness/contrast of an image. A test strip is a print that has a set of stepped graduations from light to dark that allow a photographer to choose the best tonal range for their final image.
Although inkjet printers today are quite accurate, I find it really helpful to print out a test strip so I can get maximum control over my finished image. In the darkroom printing test strips saves guess work and wasting a lot of paper, so why not use the same techniques for your digital work it will speed you up on the path to getting good prints.
To make a digital test strip here are the steps:
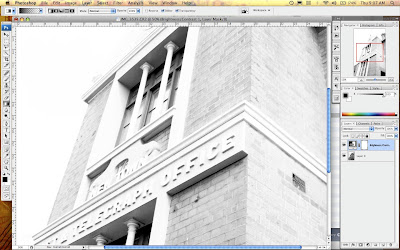
1 Create an adjustment layer for your image, in the above example I used a brightness/contrast layer and set this at the extreme end of brightness for dramatic effect.
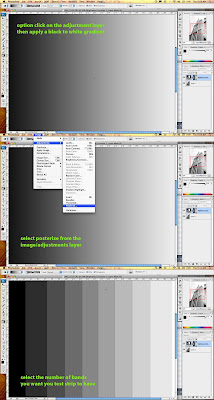
2 Option click on the adjustment layer to edit the it, and create a gradient going from black to white. Now you need to make this a stepped gradient, the easiest way to go is to select posterize from the image/adjust menu and set it at how many steps you want in your test strip, between 5 and 10 should be fine. Once you have completed this step, you should have a set of grey panels from black to white (see above).
3 Click back on your image layer and you should now have a finished test strip.
4 Print, assess tones and apply a gray in the brightness contrast over the whole image that looks best to you.
5 Print your corrected image
*In my example i have used the adjustment layer to adjust brightness contrast but you can use it for any of the funtions availabke in the adjustment layer pallette. By creatively combining different sets of gradients and effects you can create a monster teststrip that shows a huge nuber of variations. Givie it a go i am sure you will find it a very useful technique.
No comments:
Post a Comment