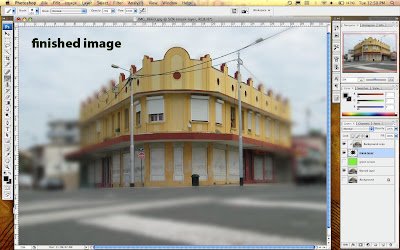
The amazing thing about Photoshop is that there are often multiple ways to achieve a single outcome. After a conversation the other week with an very experienced photographer about creating focus masks manually in the darkroom, I thought why not recreate the same technique in photoshop?
This technique is intended to give you control over de-focussing parts of you image and includes a short discussion about the different blur options available in photoshop.
1. Setting up layers.
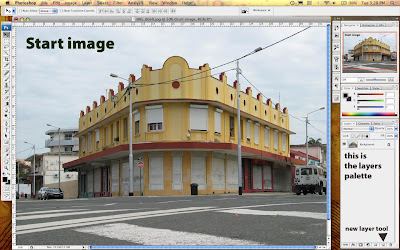
Now open a photo into Photoshop CS (you can use this with elements too) and duplicate the layer. To duplicate drag the background layer in the layers palette onto the icon that is a page with the corner turned over.
2.Setting up the maskig layer
Create a new empty layer between these two, this is going to be a masking layer.
3. Creating a contrast layer
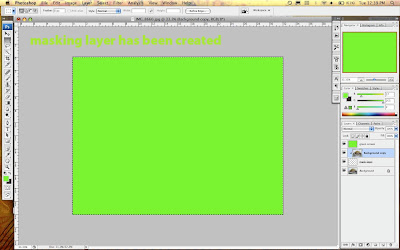
Create a contrast layer so you can see where you are cutting.
Make a layer on top of the layers stack and call this green screen
Select all and fill with a bright green
Now move this layer in the stack to second from the bottom.
4. Creating the mask
Option click between the top layer and the masking layer you should now have created a mask, there should be a small arrow on the top layer pointing into the mask layer.
Masking layers are difficult to describe, when there a no pixels on a masking layer, it shows none of the image layer it affects, it there is 100 percent pixels on the masking layer it shows 100 percent of the image. What this means in reality, is that as you paint a black onto the masking layer it will reveal that part of the image. You really need to try this out as it is a trick concept.
These masks are great because you don't do any damage to the image you are only changing the masking layer.
5. Paint in the masking layer to reveal your image
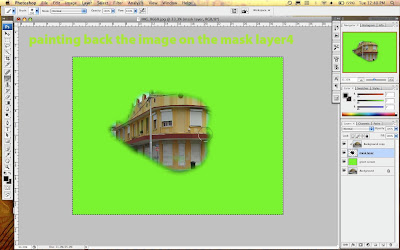
You should now see a solid green screen as the masking layer and it's image above are now invisible. Move to the masking layer and start painting onto the it using a black brush of a good size you should start to see your image appearing wherever you paint. To remove portions of the image you don't want, you simply select the eraser and erase the black on the mask layer.
What you need to do now is roughly isolate the section of the image you want to keep in focus,l in my example you can see the building in the forground. I have kept the edges soft so the image will smoothly transition into the blurred image we are about to create.
6. See the full image
Turn off the eye on the green screen layer to hide it.
You should now have the background layer visible.
Duplicate this layer so you are working on a copy but keep down the bottom of the stack.
7. Defocus the background image
Phew that is all the setup work... now for the good stuff
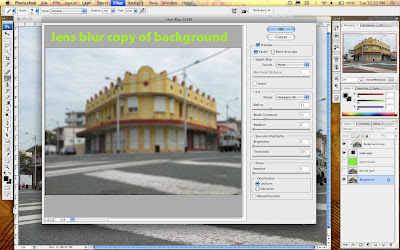
Select all on the background image copy and apply a lens blur filter, experiment with the amount till it looks good. Adjust the masking of the top layer so it looks natural.
There you have it, masking and de-focussing in one lesson, this is a big step please take careful note of the order of the layers in the images so you can see what is happening.
No comments:
Post a Comment